Improving The Windows Experience For Software Engineering
Operating systems are a divisive topic, they seem to race back and forth in a never-ending race for a good mixture of performance, features and aesthetics. The average person’s preference usually comes down to what they grew up with, or what they are forced to use for work. My preference has always been Windows since I grew up playing games on it. While I loved XP and didn’t mind Vista, 7 and 8 really lost me, 10 was an improvement and I am currently really enjoying 11.
The problem with Windows in recent years has been a endless piling-on of cruft that gets in the way of the typical power-user. This guide will describe how to remove this cruft for a fresh install of Windows 11, specifically aimed towards creating an optimised environment for software engineering.
Basic Starting Tips
Anatomy
First, a basic anatomy lesson because many people don’t know:
- The long bar across the bottom is the Task Bar.
- The Windows-logo menu that opens up with all your programs is the Start Menu.
- The small daemon icons along with time, network status and volume control in the bottom right is the System Tray.
Windows Updates
The days of Windows randomly shutting down your PC for updates are a thing of the past. It may be tempting to turn updates off, but unless you have a very good reason, leave them on, and install them whenever you get a chance.
Security (Windows Defender)
Windows Defender is the only anti-virus you will ever need, along with a good helping of common sense of course. Allow it to run and update regularly, done via Windows Update. Do not install any other anti-virus, they only exist to make money, and almost serve as a virus themselves with the amount of popups they create.
Installing Basic Programs
When starting a fresh Windows install I use this handy tool called Ninite, it creates a single-run executable for you to install all your desired programs, and leaves no trace behind, very neat and professional: ninite.com.
De-cluttering
Time to start hacking off some of the cruft!
Winaero Tweaker
Microsoft makes a lot of stuff toggle-able but doesn’t like to expose it through the average settings screen, and leaves it to registry keys. Modiying registry keys can get a bit laborious and potentially dangerous if you don’t know what you’re doing, so you can use a program called Winaero Tweaker available here: winaerotweaker.com. This free program has all hacks you could want available as simple checkboxes. It also has links to explain how each individual hack works too. I’ve used it across many installs and never had an issue.
 One of the many tweaks available in the program.
After installing, feel free to browse all of the hacks available, but here are the ones I feel most important, find them easily using the search near the top-left. In case you don’t feel like installing it, I’ve linked to the registry alteration guide for each tweak too.
- Classic Full Context Menus: The new context menu used for explorer looks nice but often just requires you to perform an extra click to get what you really want.
- Disable Background Apps: Disable a whole lot of default background apps that no one ever uses.
- Ads and Unwanted Apps: Disable all ads and tracking within this menu.
- Disable Web Search: Disable web searching from the start menu / staskbar, which leads to a slow and innacurate experience.
- Disable Cortana: Save taskbar space and save some memory.
- Disable Copilot: Save taskbar space and even more memory.
Taskbar Clutter
The taskbar comes with a lot of useless buttons now that can be disabled to free up space for more important apps! Right-click the bar and select “Taskbar Settings”.
- Say bye-bye to the search button, pressing the Windows key and typing is much faster than moving your mouse to a 1x1 centimetre area.
- Kick the “Task view” button to the curb, the same function can be accessed via
WinKey + Tabor you can get used to the fasterAlt + Tab. - Copilot - Can be accessed with
WinKey + C. - Widgets… They’re slow and mostly contain clickbait news articles, no thanks. If you really like them, the shortcut is
WinKey + W.
Startup Apps
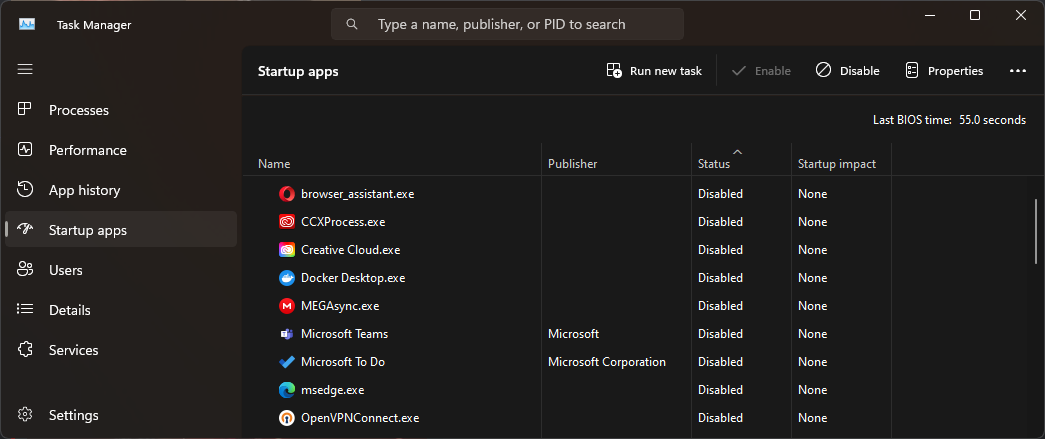
Within the new Task Manager (open with CTRL + SHIFT + ESCAPE) you can manage which programs start with Windows, this can come with some undesirables such as Microsoft Teams or OneDrive that can be freely disabled if you don’t plan to use them at all. The list will grow as you install more onto your machine so it is good to check it occasionally to keep your startup experience speedy.
 Plenty of freeloaders come along for the startup ride that you can disable easily.
Development
Now lets dive into some development related tips.
WSL
You’ve probably heard of this one, WSL (Windows Subsystem for Linux) is an official Microsoft tool that allows you to run a full linux subsystem within your OS, even supporting GUI applications! I’ve found the best way to install & manage it is via the Microsoft Store where you can also take your pick of your preferred distro including Ubuntu, Debian, Arch, etc. WSL is a fantastic tool but I haven’t needed to use it much since I found out about this next one…
Git Bash
Git Bash allows me to keep up with my Linux coworkers, and even keep ahead of my MacOS coworkers! Git Bash is an emulation layer for a Unix-like command line experience that allows me to write and share scripts in our project repos without any worries. I typically install this via the Git for Windows installer, it is presented as an optional checkbox during the process.
 Git Bash allows me to write & run bash scripts easily, on Windows!
Using Version Managers
I’m primarily a .NET developer so I didn’t know this was an issue until I started experimenting with other languages/frameworks like Python & Node where I found this quite important. If the tool you’re working with doesn’t play nicely with having multiple versions installed, use a version manager! For Node I use nvm-windows and for Python pyenv-win, if you suspect you will ever need to change versions or work on multiple projects in the future, find and use one!
Efficiency
Lots of the aforementioned tips will help with efficiency, but here’s some that soley aim for it.
Clipboard History
Clipboard history is a feature that shows you items that were previously on your clipboard, very handy for juggling multiple items or for when you accidentally copy something, or just need that thing from a couple hours ago. It’s disabled by default for some reason but just search “Clipboard” in your start menu to find the settings then use it with WIN + V.
Windows Terminal
The Windows Terminal is an opensource Microsoft project (GitHub) that brings a fresh new terminal experience to Windows that can encapsulate separate tabs of the classic CMD, PowerShell, Git Bash, and all your other WSL installs! The terminal is very fast and a delight to look at, and extremely customisable!
The easiest method to install and keep up to date is via the Microsoft store.
PowerToys
OG Windows users might recognise this from the 95 - XP days. The old power-user enhancements and tweaks are now back as an opensource community-run project (GitHub). Some of the tools I get the most use out of in PowerToys are:
- ✨ File Locksmith to see what programs are locking a file!
- ✨ Text Extractor OCR snipping tool!
- OS-Wide Color Picker.
- FancyZones window manager.
- Hosts file editor GUI. Easiest to install and keep up to date via the
DevToys
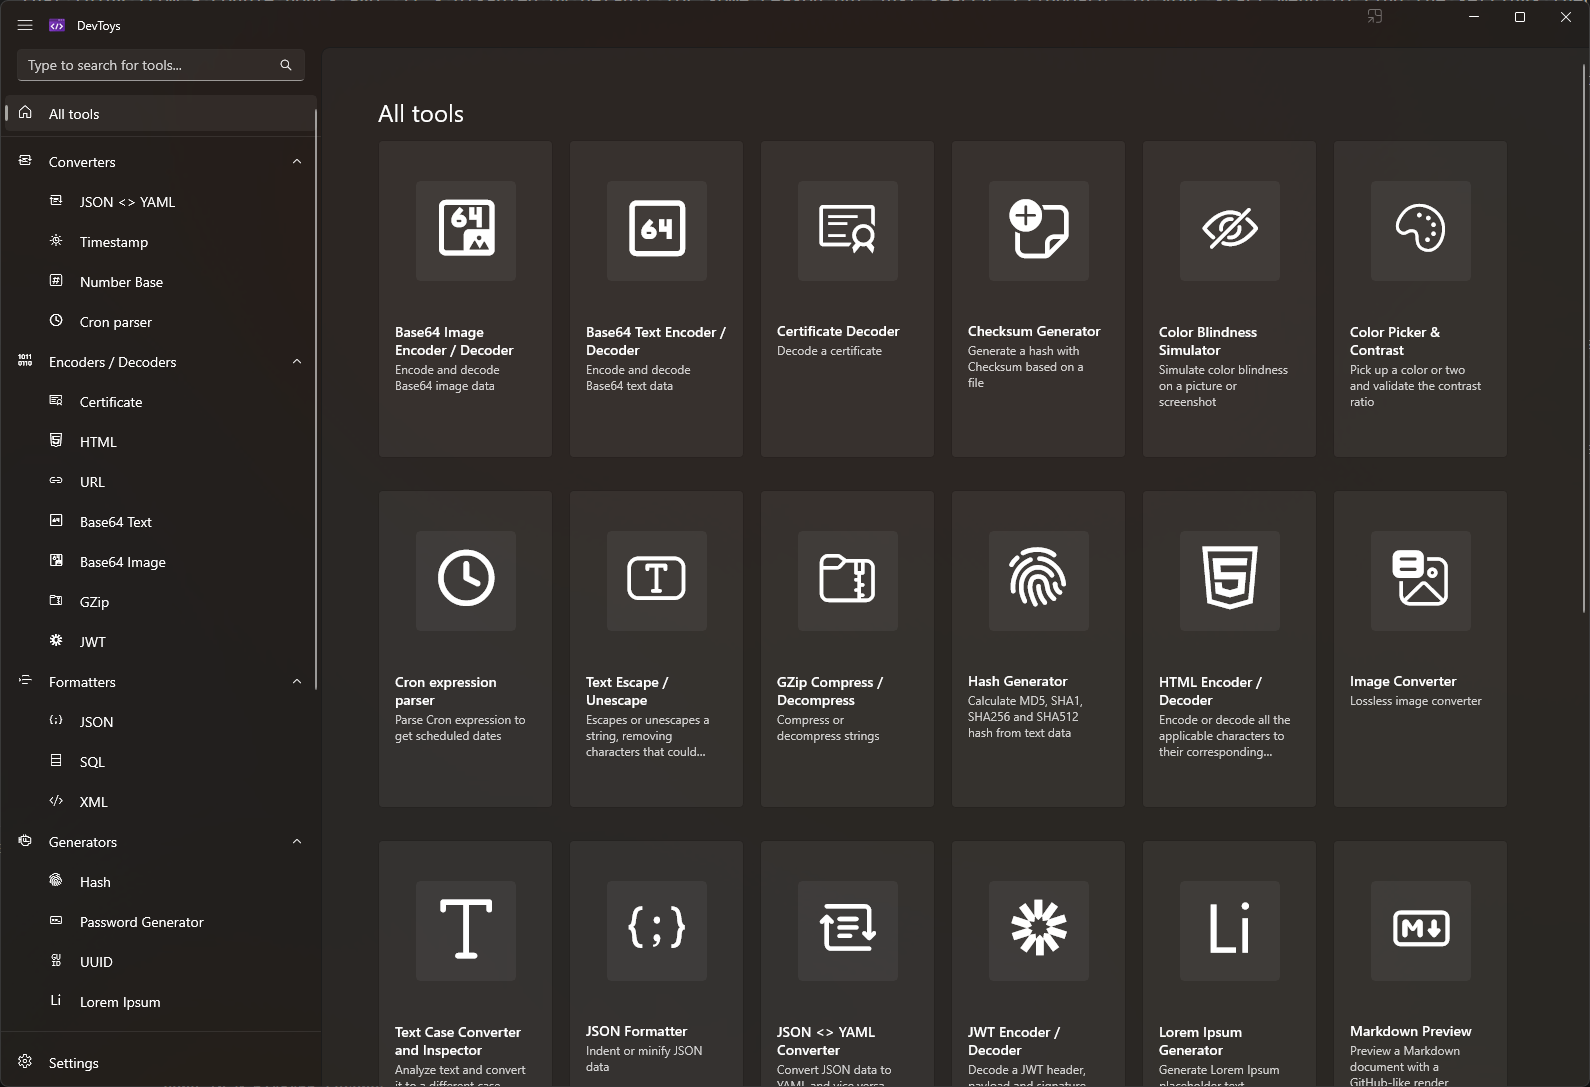
DevToys Microsoft store describes itself as a “swiss army knife for developers”. The tool offers many useful tools for devs at usable within a second with its fast simple UI. The program can guess your intended operation by peeking at what you currently have in your clipboard and suggesting relevant tools!
 The landing screen of DevToys with its many tools to choose from.
Scoop.sh
Scoop.sh is a command-line installer for Windows, this is the best one I’ve tried (versus WinGet & Chocolatey) this is a smooth and fast way to manage installs of things like language SDKs or aforementioned tools like WinAero Tweaker, PowerToys, NVM, etc. Have a search on the site to see if they have what you need!
Share yours!
I’m always interested to learn more ways to improve the Windows experience and I’m sure other readers are too. Use the Giscus comments below to share your tricks & hacks with others!